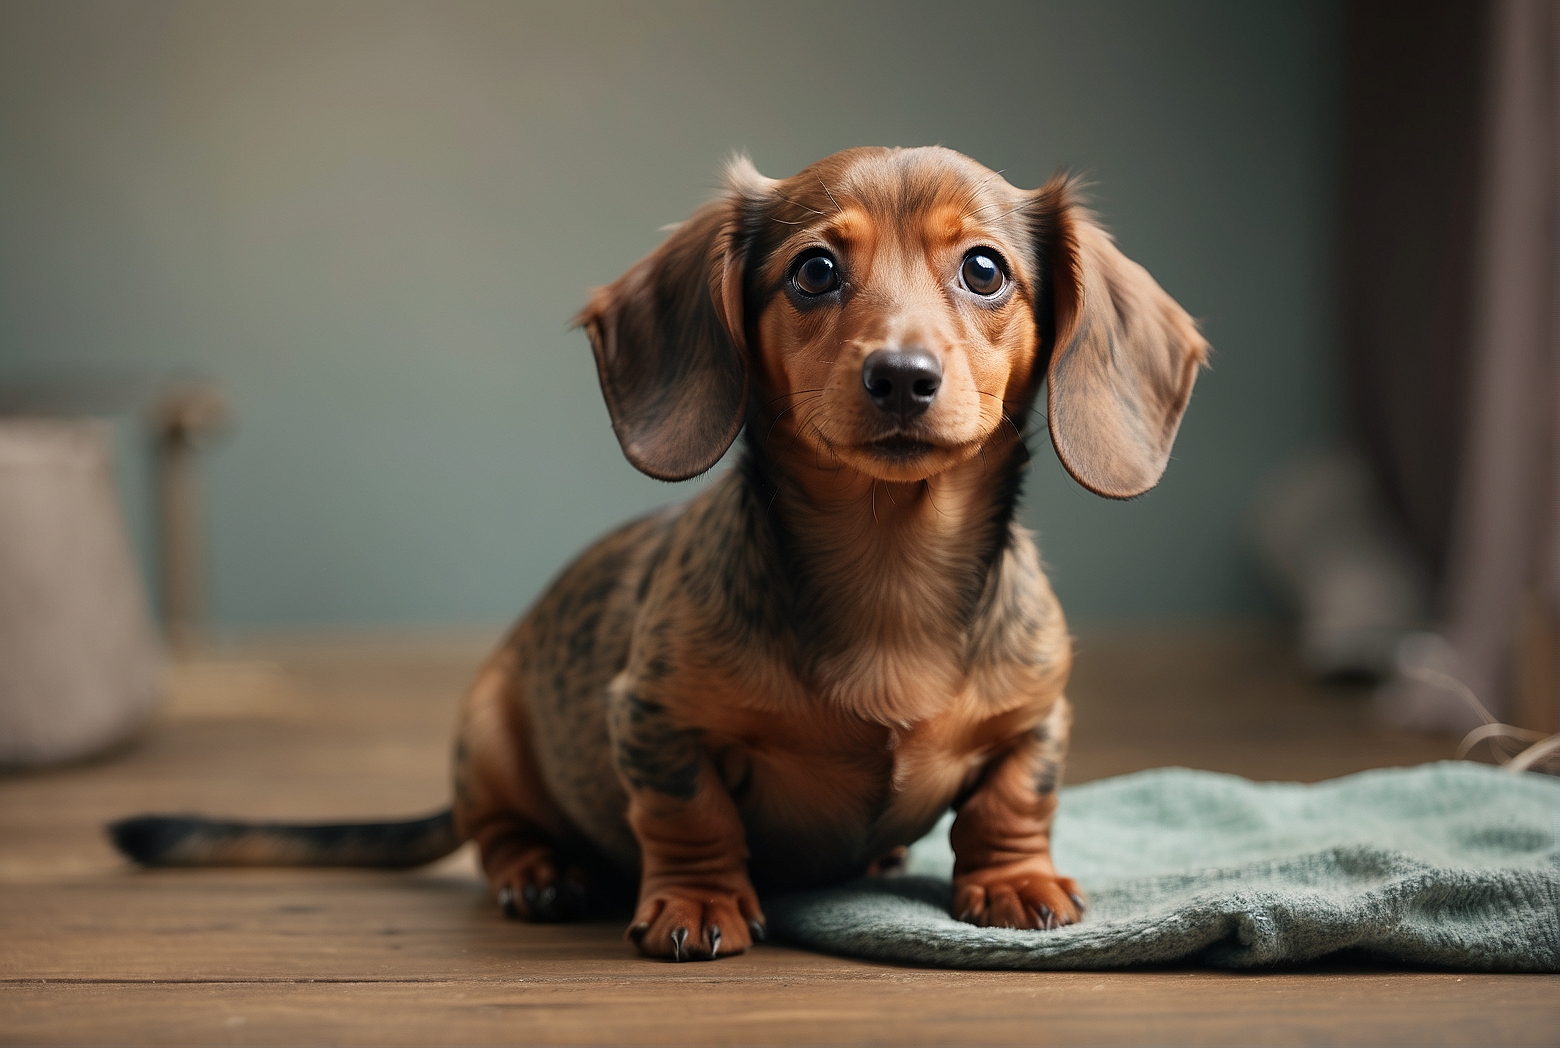
If you’re a proud Dachshund owner, you know how important it is to maintain their health and well-being. And one area that often requires attention is their ears. Dachshunds are prone to ear infections due to their long, floppy ears and the build-up of wax and debris. But fear not, because cleaning your Dachshund’s ears can be a simple and stress-free process. In this article, we’ll guide you through the easy steps to keep your furry friend’s ears clean and free from any discomfort or infection. So grab your cotton balls and let’s get started!
Gather Necessary Supplies
Before you begin cleaning your dachshund’s ears, it’s important to gather all the necessary supplies. Make sure you have cotton balls or pads, an ear cleaning solution specifically formulated for dogs, a towel or tissue to clean up any mess, and treats or rewards to keep your dachshund calm and cooperative throughout the process. Having everything at hand will make the cleaning process much smoother and more efficient.
Prepare a Comfortable Environment
Creating a comfortable environment for your dachshund is crucial when it comes to cleaning their ears. Find a quiet and well-lit area in your home where you can concentrate without distractions. This will help both you and your dachshund to focus on the task at hand. Additionally, place your dachshund on a stable surface, such as a table or countertop, where you can easily reach their ears. Ensure that your dachshund is calm and relaxed before you proceed with cleaning.
Examine the Ears
Before you begin cleaning, take a moment to examine your dachshund’s ears. Check for any signs of infection or inflammation, such as redness, swelling, or a foul odor. These may indicate the presence of an ear infection, and in such cases, it’s best to consult a veterinarian. Also, look for excessive earwax or discharge, which could be a sign of poor ear hygiene. Lastly, observe your dachshund’s reactions as you gently touch their ears. If they show signs of pain or discomfort, it’s essential to handle them with extra care and consult a professional if needed.

Apply the Ear Cleaning Solution
Once you’ve completed the initial examination, it’s time to apply the ear cleaning solution. Begin by pouring a small amount of the solution onto a cotton ball. Make sure the solution is specifically designed for dogs and does not contain any harmful ingredients. Gently fold back your dachshund’s ear flap to expose the ear canal. Take the soaked cotton ball and wipe the visible parts of the ear canal. Be gentle and careful not to push the cotton ball too far into the ear. This will ensure that you clean the external part of the ear thoroughly.
Massage the Base of the Ear
After applying the ear cleaning solution, it’s beneficial to massage the base of the ear. Start behind your dachshund’s ear and use your fingertips to gently massage in a circular motion. This massage technique helps to loosen any debris or earwax that may be trapped in the ear canal. It also provides a soothing sensation for your dachshund, making the cleaning process more comfortable for them. Remember to be gentle and respond to any signs of discomfort from your dachshund.
Allow Your Dachshund to Shake
Once you’ve applied the ear cleaning solution and massaged the base of the ear, give your dachshund a moment to naturally shake its head. Allowing them to shake helps to remove excess cleaning solution and dislodged debris from their ears. Keep in mind that shaking is a natural instinct for dogs, so don’t be alarmed if they shake vigorously. It’s important to be prepared with a towel or tissue to catch any splattering solution or debris. By giving your dachshund this moment, you facilitate the cleaning process and make it more effective.
Clean the Ear Flap
While the ear cleaning solution primarily focuses on the ear canal, it’s also essential to clean the visible surfaces of the ear flap. Take a clean cotton ball and use it to wipe the ear flap, making sure to remove any dirt or debris that may have accumulated. It’s crucial to be gentle and avoid inserting anything into the ear canal, as this could potentially damage your dachshund’s delicate ear structures. Concentrate on the outer parts of the ear, ensuring a thorough clean without causing any harm or discomfort to your dachshund.

Reward Your Dachshund
After successfully cleaning your dachshund’s ears, it’s vital to reward them for their cooperation and good behavior. Offer treats or praise your dachshund to create a positive association with the ear cleaning process. This positive reinforcement helps to build trust and make future ear cleaning sessions easier. By consistently rewarding your dachshund, they will learn to associate ear cleaning with positive experiences, making the process less stressful for both of you.
Repeat for the Other Ear
Once you’ve completed cleaning one ear, it’s essential to follow the same steps to clean the other ear. Each ear should be treated individually to prevent cross-contamination and ensure a thorough cleaning. Remember to use separate cotton balls for each ear to maintain hygiene and avoid spreading any potential infections. By cleaning both ears regularly, you can maintain optimal ear health and reduce the risk of ear infections in your dachshund.
Maintain Regular Ear Cleaning
Cleaning your dachshund’s ears should not be a one-time occurrence; it’s important to develop a consistent ear cleaning routine. Regular cleaning helps prevent ear infections and maintains overall ear health. Depending on your dachshund’s unique needs, consult with a veterinarian to determine an appropriate ear cleaning schedule. By incorporating ear cleaning into your routine, you can ensure that your dachshund’s ears stay clean and healthy for years to come.


